|
|
Post by riverrat on Apr 27, 2008 12:53:32 GMT -5
I started this with the idea of showing a product I am happy with and it turned in to a start to finish project. I know you have seen step by step projects casting or molding heads using silicone caulk and I have used this method before but I was introduced to the Smooth-On product line and think it is a worth while product. The duck head I used for this is freeze dryed you do not have to do this it was for demonstration purposes only. You can mold a raw or frozen head for your mold making (a frozen head will lengthen your cure time) After freeze drying the head I removed all the remaining fat and replaced it with Apoxi Sculpt (picture 1)  The next step is to secure the head to be molded to a base, this can be done using clay or hot glue. I chose the hot glue. (picture #2) 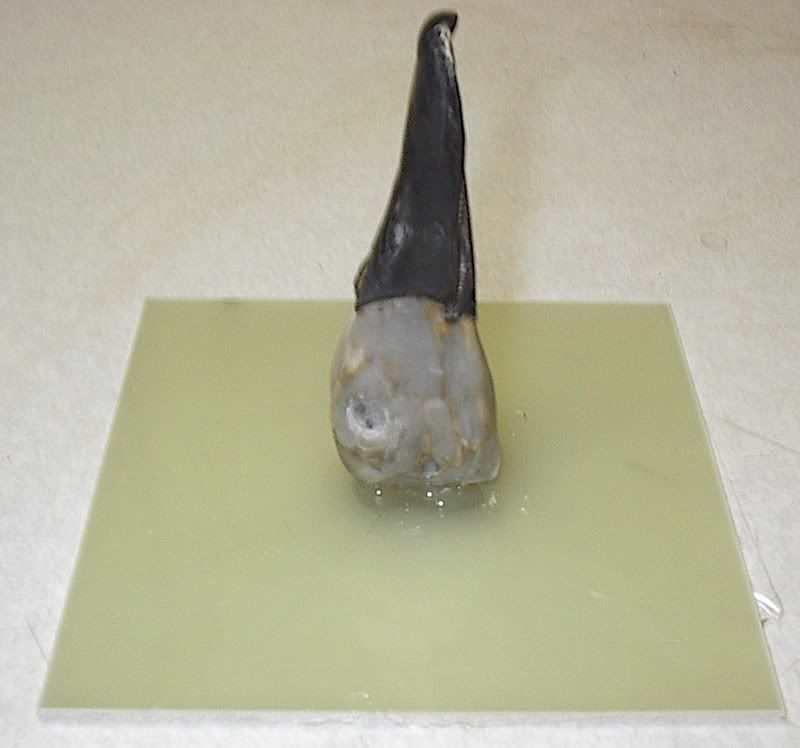 Then you have to make a container for your Smooth-On Dragon Shin, again I hot glued a cup with the bottom removed (picture #3) 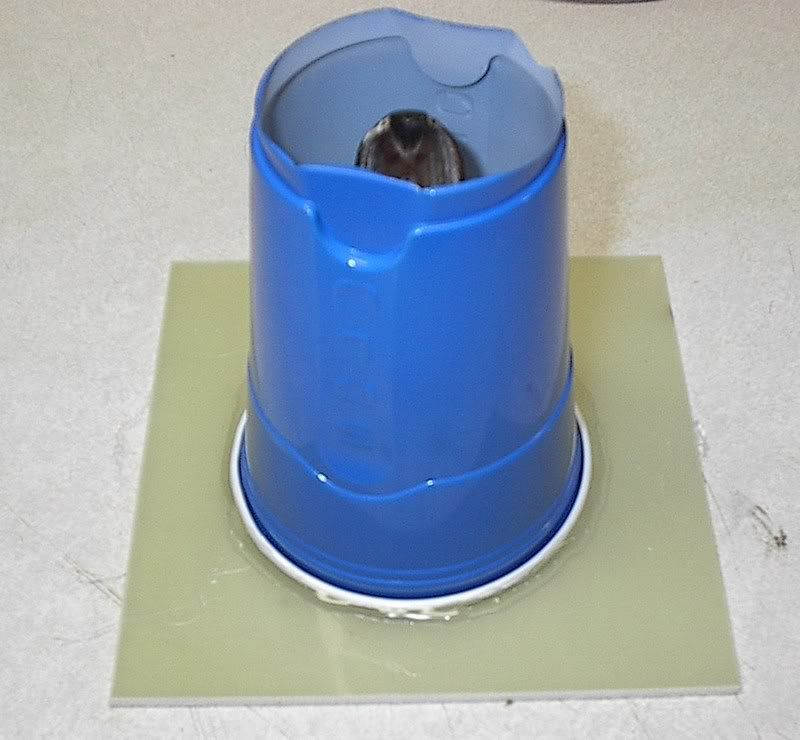 Now it is time to mix your Smooth-On Dragon Skin, you can mix by weight or volume equal parts. Make sure to mix thourly and pour in to your mold. you have a pot life of 20 minutes a demolding time of 5 hours and a total cure time of 24 hours. (photo #4) 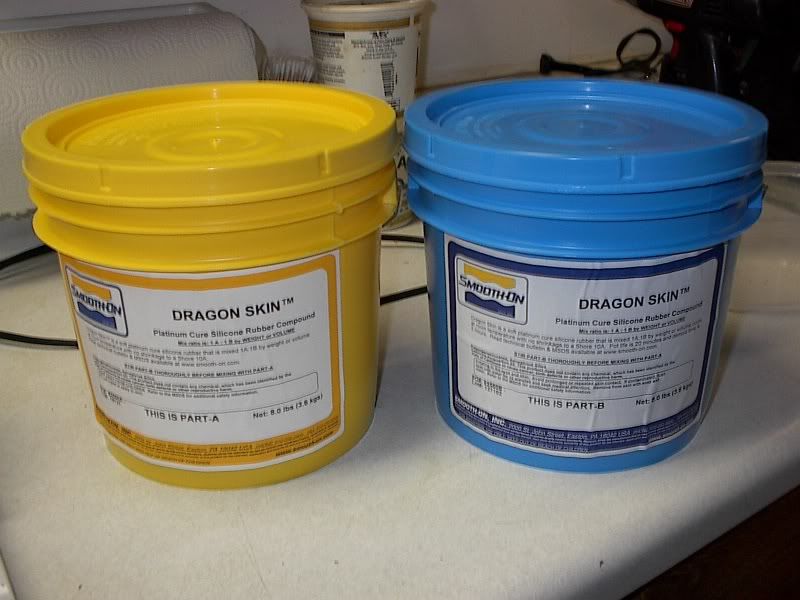 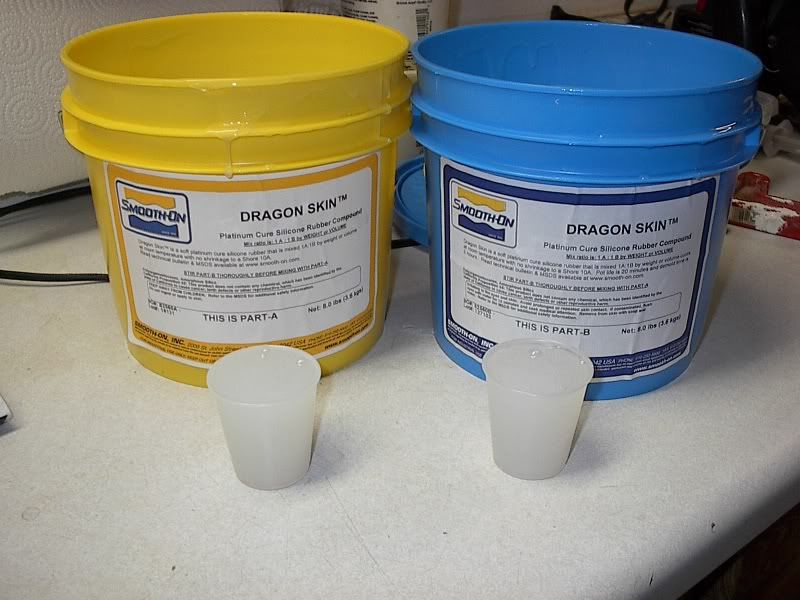 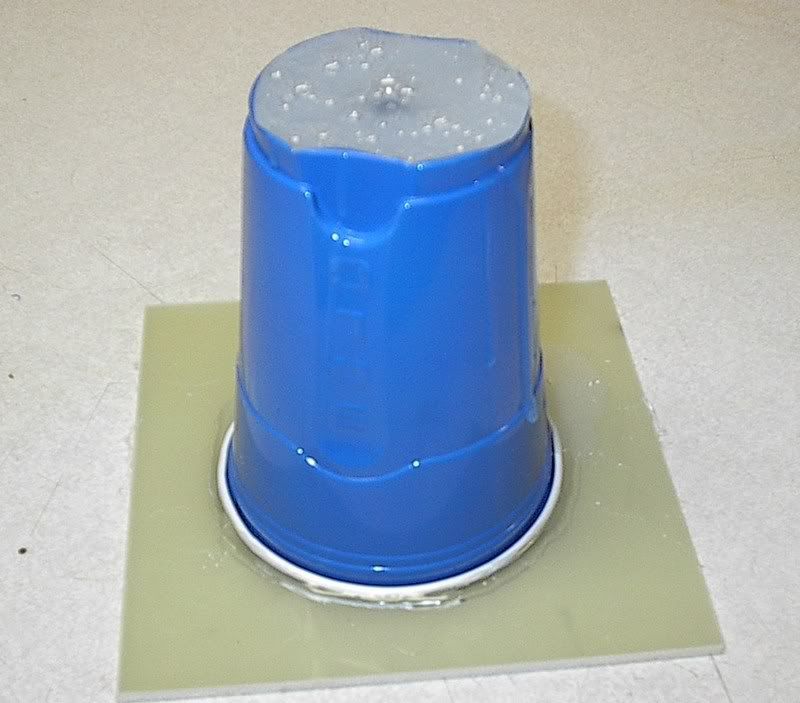 That is it molding is done no mother mold nothing else. Casting and painting to will follow in the next post. |
|
|
|
Post by riverrat on Apr 27, 2008 13:06:17 GMT -5
The next step is to remove the head you use form the mold and cast a new head. I did not get very many pictures of this but it is a simple process.Now it is time to cast and pour your new head. I used Smooth-On Smooth Cast 300. again this is mixed in equally parts by weight or volume and pored in to your new mold. the pot life is 2 to 3 minutes and demold time is 10 minutes. 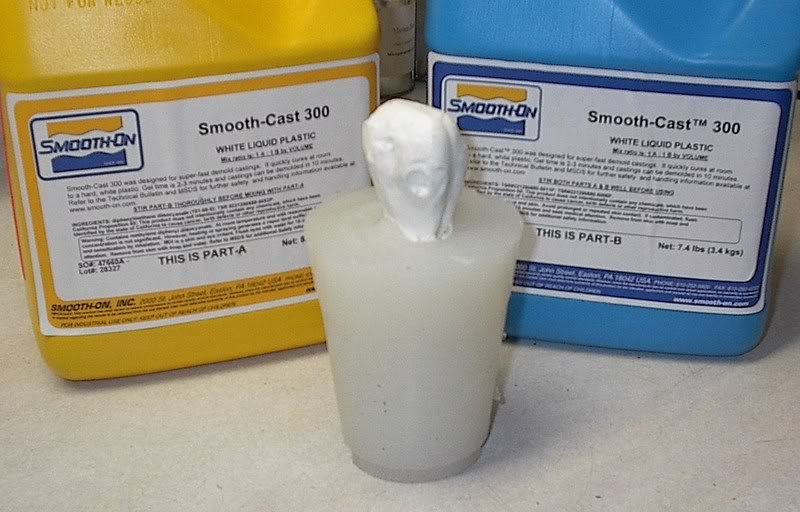 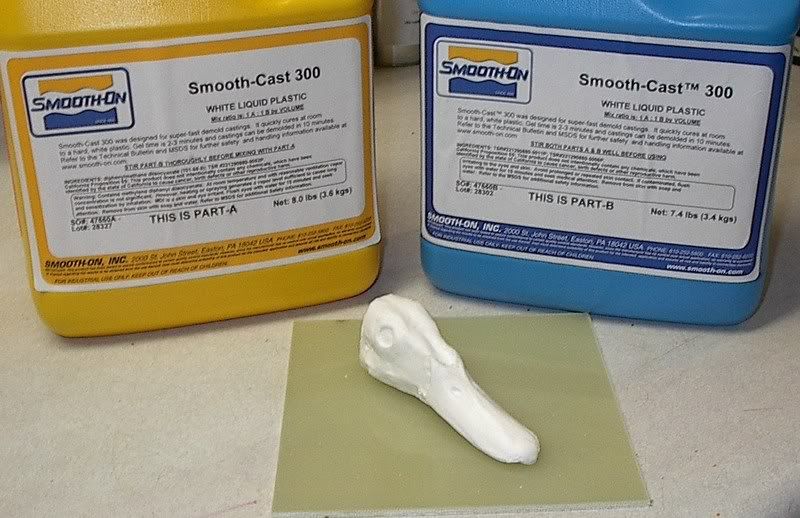 This project cost a little more than the silicone method but the shelf life of your mold is indefinite and the stretch and strength is 100% better than the silicone method. I figure total cost of mold and cast around $6.00 and the mold can be used 1000s of times, with silicone I am lucky to be able to reuse it 5 or 6 times before it starts to tear. Painting to follow in next post. |
|
|
|
Post by riverrat on Apr 27, 2008 13:33:15 GMT -5
Well as I said this ended up being a start to finish project, I am not the greatest at air brushing but I will try to walk you through this. After cleaning the head and checking the fit of the eyes I give the head a misting of black, make sure to coat the nostrils. 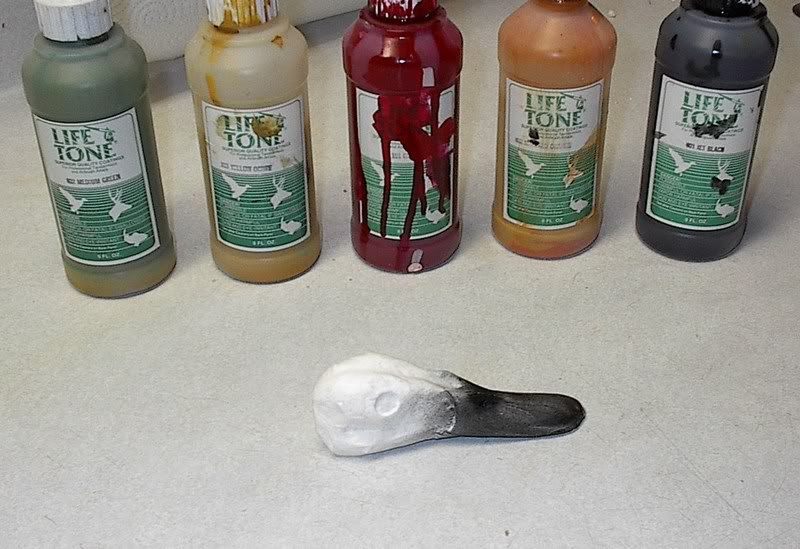 After this I give the head a was all I wanted to do with the black is bring out the detail of the casting. 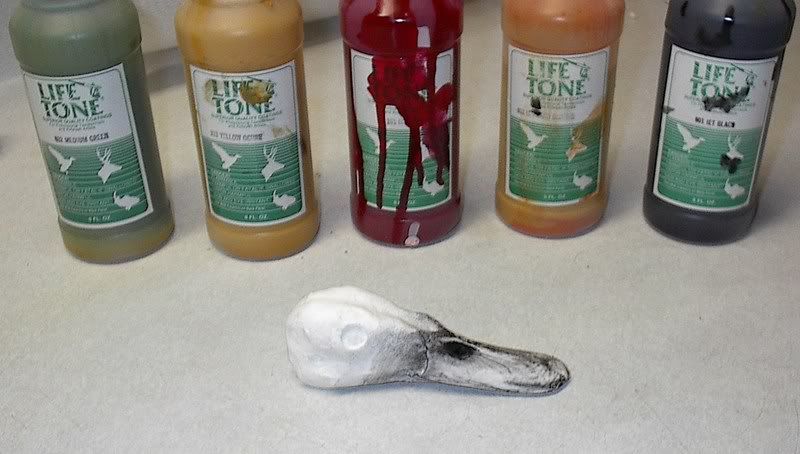 Next I give it a light mist of Yellow Ochire. the big words are light mist you don't want the finished head to look like it was painted. 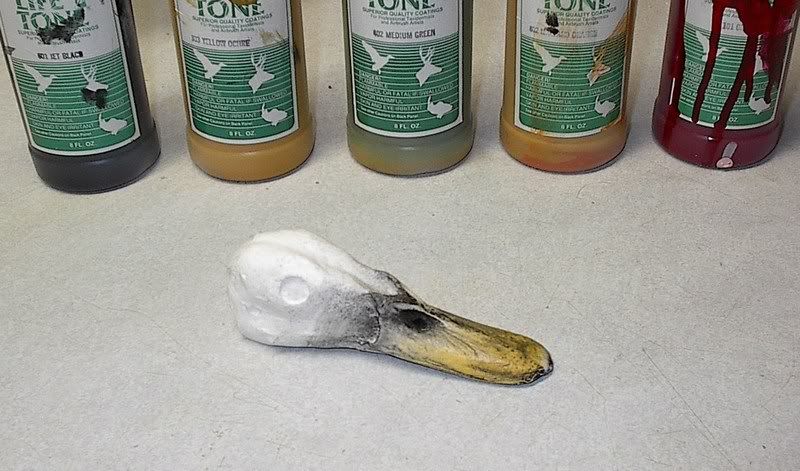 Hear comes that lite mist again this time I used Medium Green near the back of the head. 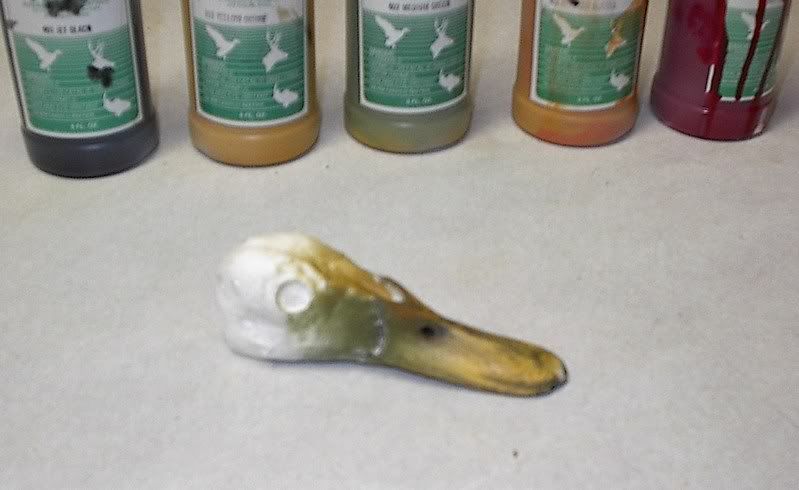 You may not be able to see it but next is Mallard Orange between the eyes and under the bill. 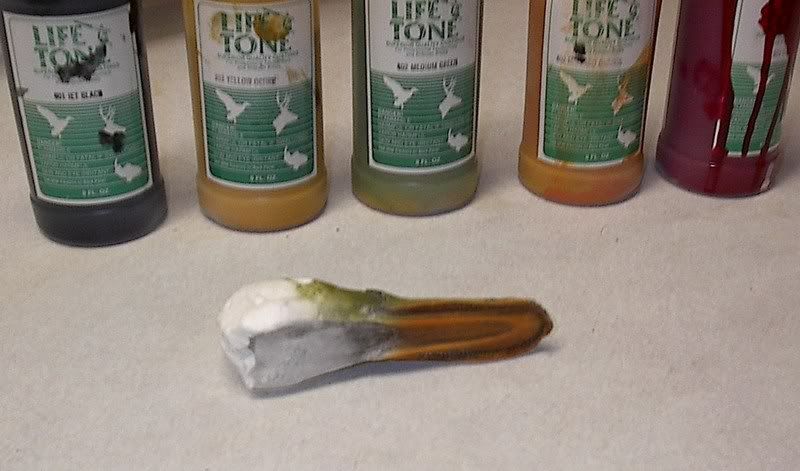 Under the bill I also put a light cast of Gill Red this is kind of my personal touch, you very seldom see it on other heads, But it is something I have seen on freshly killed birds. Next I go to the paint brush to add the final black detail. 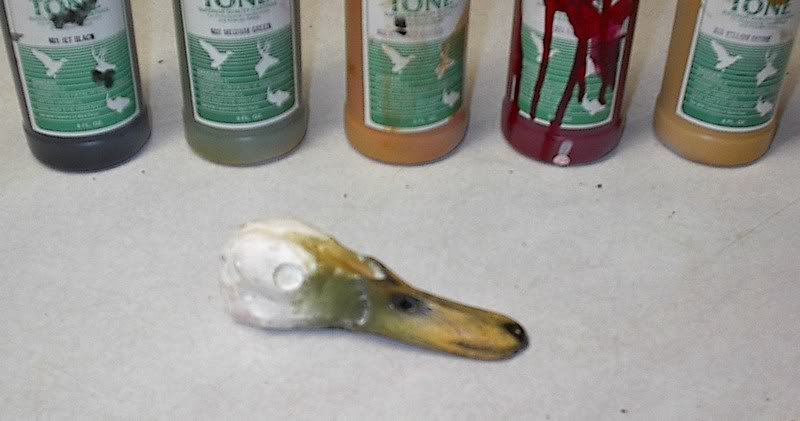 The last thing is to seal the project I like Dura Clear Varnish satin, a gloss seams too bright that is why I like satin, the photo looks a little brighter than I like due to the flash. 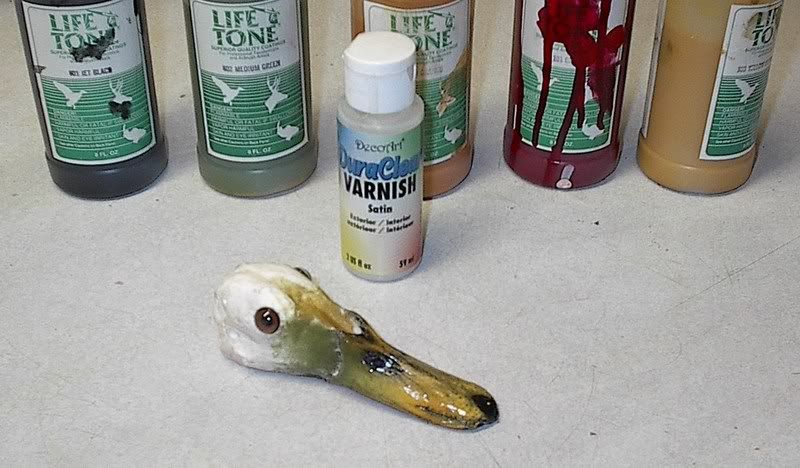 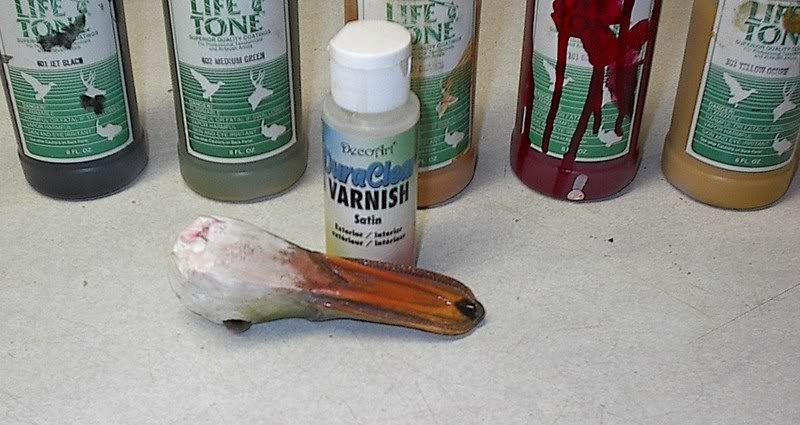 Well that is it start to finish. 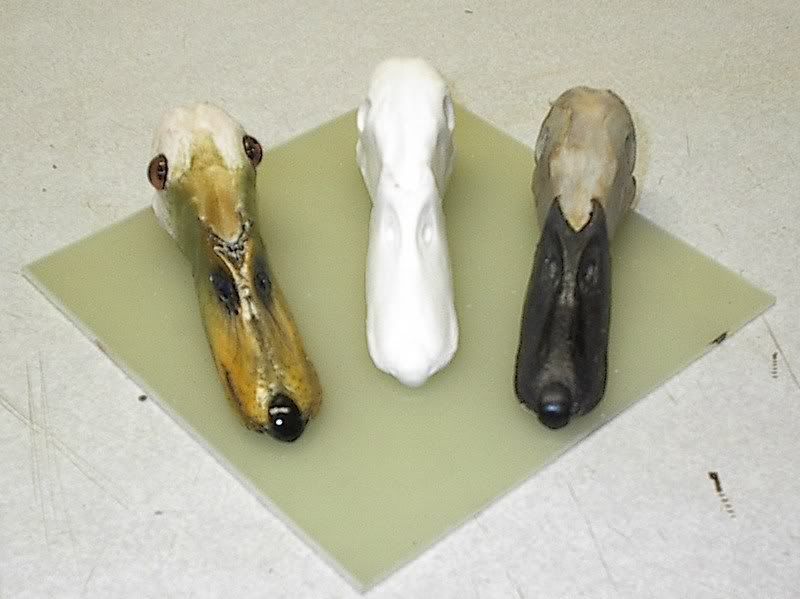 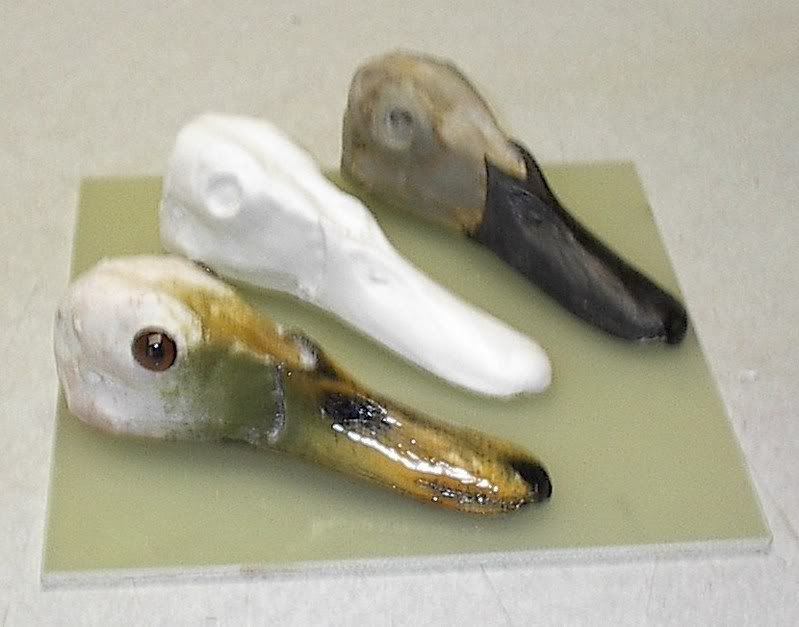 I hope this helped everyone, if you are interested in Smooth-On products contact Chris at 1-800-477-4457 he can get you any samples that you may need, and tell him you saw it on our forum. Any questions or comments regarding the post I will try to answer. |
|
|
|
Post by riverrat on Apr 27, 2008 13:37:51 GMT -5
In the last 2 pictures you can see how much detail the Dragon Skin picked up from the original head.
|
|
|
|
Post by jwj4856 on Apr 27, 2008 22:10:05 GMT -5
Very good post Don, I've made several bird heads using the exact same technique and it works very good, should help some one here.
James
|
|


 ? Looking for a wayto fix broken fins on already mounted fish...And how to blend the color to match the fish already painted??? need some help please!!!!!