

Post by cecil on Feb 4, 2008 9:40:06 GMT -5
IMHO the only way to go on crappies, bluegills, yellow perch, redears, and all other sunfish is the modified half cast method. I've even done talapia this way, and smaller specimens of gamefish such as largemouth bass. I have mounted crappies up to 20 inches using this method.
However, I wouldn't recommend this method for thin skinned species like trout (skin may cause problems) or the larger fish due to the weight factor and the fact that there are good maninkins available for the larger species and carving is also a better alternative.
Why is this method so good? Well first of all you are using a mold -- albeit a quick cast impression more than an actual full fledged high quality mold -- as a guide to making your fish body. Anybody that knows anything about molding knows there is nothing more accurate for anatomy than a mold of the real deal.
Secondly panfish species vary quite a bit in anatomy depending on time of year (egg laden female vs. not) and their food supply. The bluegills I raise in my ponds are well fed and shaped like saucers on steroids. In the local lakes they are much more elongated. Try getting a manikin that fits all of the variations and you are going to have to alter any commerical manikin you buy, or of course do some carving. To me altering a manikin is Bush league and a waste of valuable time which means you are losing money. Why bother buying a manikin if you have to alter it? And this method is so quick and easy I can mount up three fish at a time, and have them carded and drying while I would still be carving bodies for those same fish. Since I've been dong this method for about 24 years I can easily cast and mount up three panfish at a time. I"ve also taken blue ribbons with half cast fish at the national level (IGT).
And more thing. No glue, no stitching or staples, or drumming! As long as the skin is not moved after mounting it adheres to the filler.
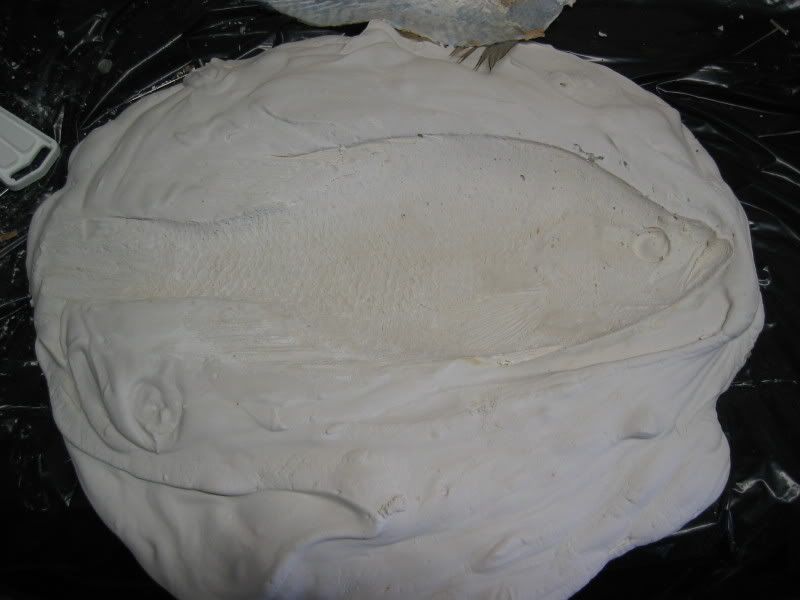
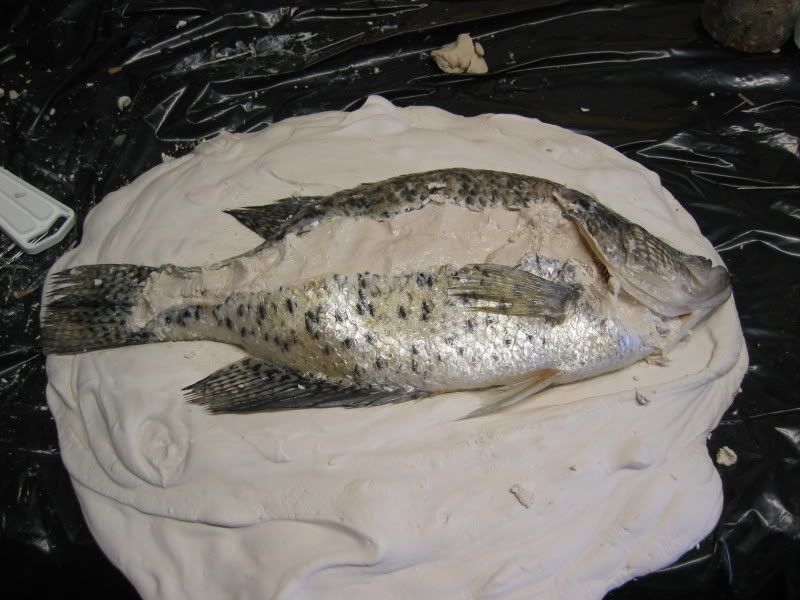
Plaster impression made of fish before skinning. I simply poured plaster on a piece of garbage bag or newspaper, and once it was thick enough to provide the required depth, laid the unskinned fish in it to the midline. Let the plaster set up and remove and rinse the fish and skin out. Be aware the show side faces down. I use a quick setting dental plaster available at my local building supply store for about $25.00 per 100 pounds. It actually sets up before it goes into heat.
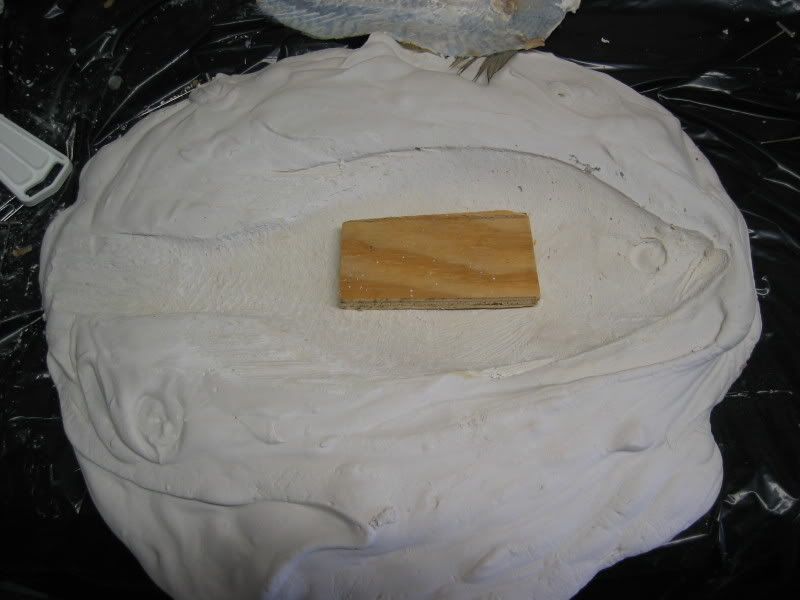
Here is a picture of the wooden block which will be inbedded into the filler later for something to run a screw into.
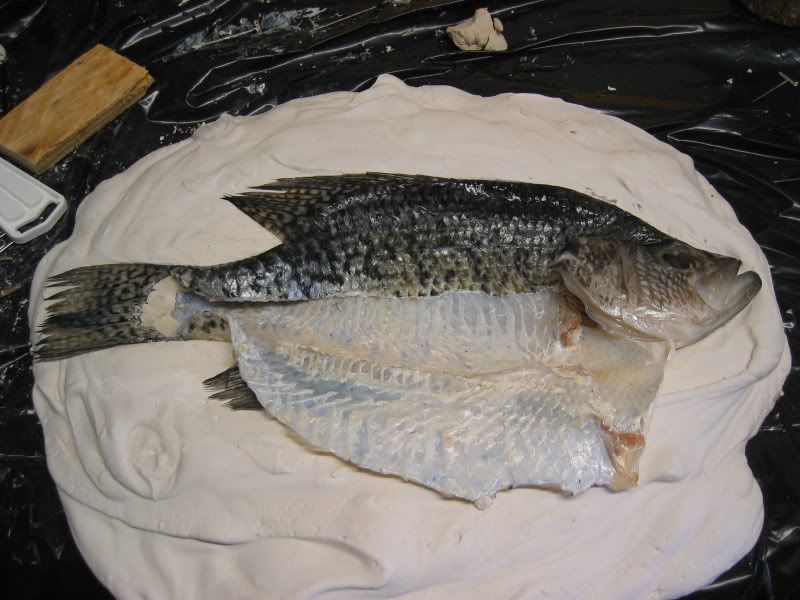
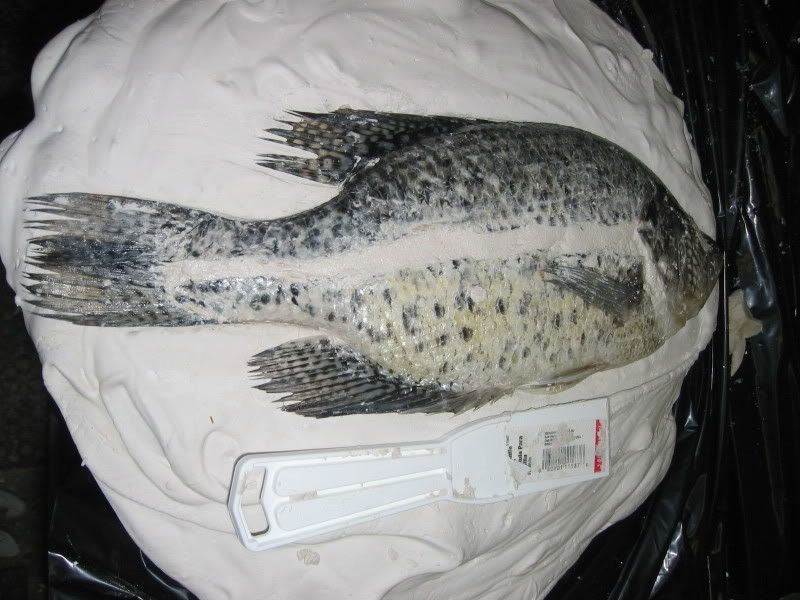
The next day or several hours later the skinned out fish skin is laid into its original postion with fins lined up etc. Note the white clay where the tail meets the body. The clay takes longer to set and one can use it to create a smooth tail to body transition.
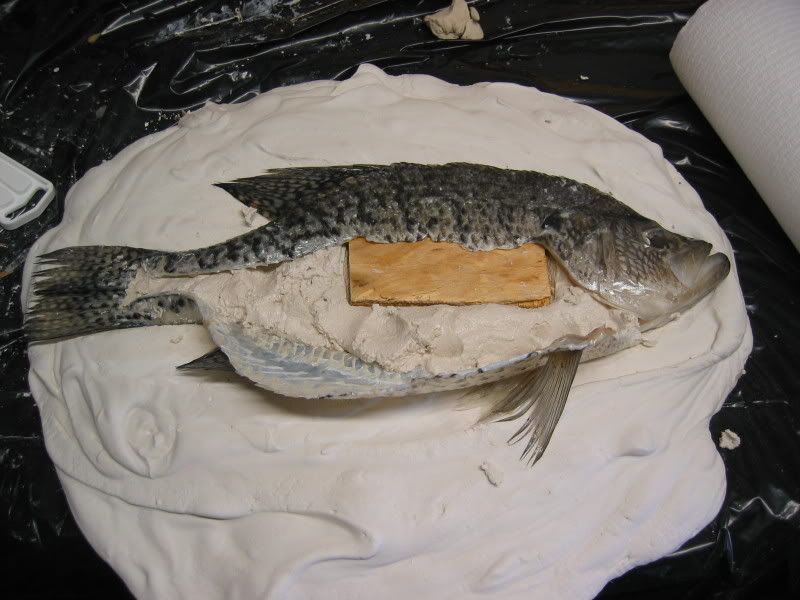
Using Tom Sexton Fish Filler the body is partially filled and a piece of precut plywood is put into position at approximately the center of the body to be covered with more filler. It's important the filler has the consistency of wet play dough.
Fish is overfilled with the fish filler (make sure you push into the head cavity and other areas), and the excess is pushed out the back seam. This is very important to prevent air bubbles or depressions.
Fish almost completely filled with a plastic spatula in view. This tool can be used over and over again for mixing the filler with water by simply flexing off the filler once it sets. Same goes for a gallon plastic ice cream bucket that I use to mix the filler. Note sure you fill your cheek cavities through the eye socket on both sides. Once I think I've the fish filled to my satisfaction I flip it over and fill the other cheek cavity. (Be careful!) Then I pop it back in the mold. Be sure you didn't drop and filler crumbs into your mold before putting it back. I also rinse and wipe off my hand periodically in the skin to keep them relatively clean to keep the filler off the fish.
(Photo not shown Will add ASAP)
Once the filler starts to firm up I remove the fish from the filler, turn the fish over, and prop it into the postion I want with paper towels underneath the body. This gives a curve to the body if you wish. You can even do reverse curves with this method very easily. I wet the fins with spray bottle of water periodically, and wait for the filler to become hard which is within 20 minutes or so. Also if you want an open mouth fish it's important you pack paper toweling into the mouth of the fish before the filler sets up.
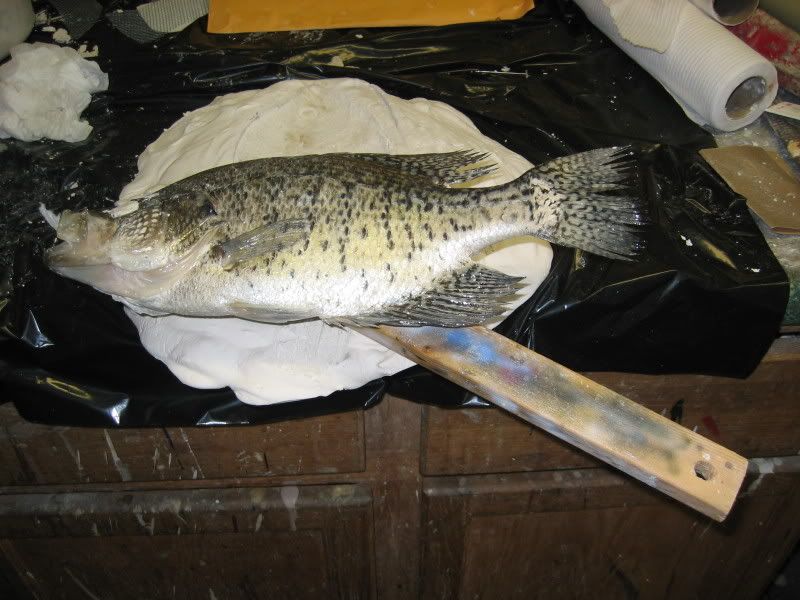
The filler has set up and after predrilling a hole into the back of the fish and plywood block, a piece of furrowing stripping is screwed into the back of the fish with a drywall screw for hanging.
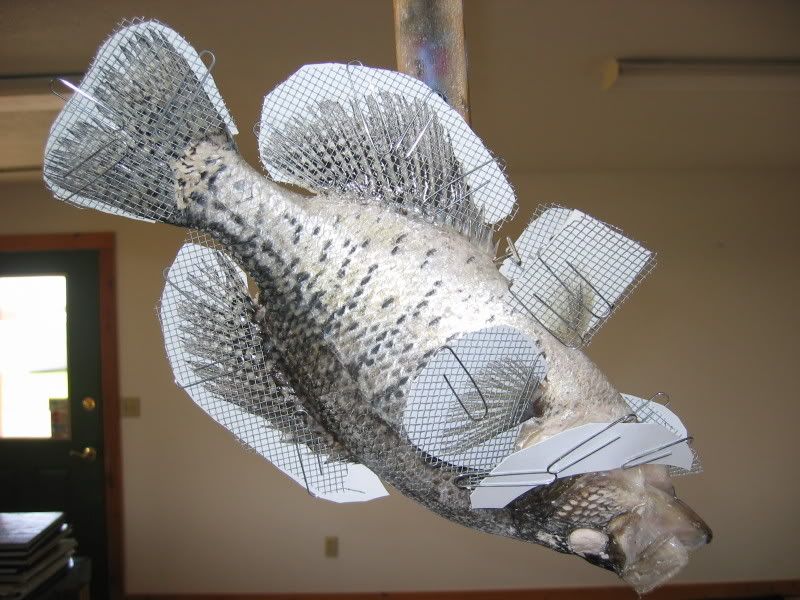
The fish all carded and hanging up to dry.
However, I wouldn't recommend this method for thin skinned species like trout (skin may cause problems) or the larger fish due to the weight factor and the fact that there are good maninkins available for the larger species and carving is also a better alternative.
Why is this method so good? Well first of all you are using a mold -- albeit a quick cast impression more than an actual full fledged high quality mold -- as a guide to making your fish body. Anybody that knows anything about molding knows there is nothing more accurate for anatomy than a mold of the real deal.
Secondly panfish species vary quite a bit in anatomy depending on time of year (egg laden female vs. not) and their food supply. The bluegills I raise in my ponds are well fed and shaped like saucers on steroids. In the local lakes they are much more elongated. Try getting a manikin that fits all of the variations and you are going to have to alter any commerical manikin you buy, or of course do some carving. To me altering a manikin is Bush league and a waste of valuable time which means you are losing money. Why bother buying a manikin if you have to alter it? And this method is so quick and easy I can mount up three fish at a time, and have them carded and drying while I would still be carving bodies for those same fish. Since I've been dong this method for about 24 years I can easily cast and mount up three panfish at a time. I"ve also taken blue ribbons with half cast fish at the national level (IGT).
And more thing. No glue, no stitching or staples, or drumming! As long as the skin is not moved after mounting it adheres to the filler.
Plaster impression made of fish before skinning. I simply poured plaster on a piece of garbage bag or newspaper, and once it was thick enough to provide the required depth, laid the unskinned fish in it to the midline. Let the plaster set up and remove and rinse the fish and skin out. Be aware the show side faces down. I use a quick setting dental plaster available at my local building supply store for about $25.00 per 100 pounds. It actually sets up before it goes into heat.
Here is a picture of the wooden block which will be inbedded into the filler later for something to run a screw into.
The next day or several hours later the skinned out fish skin is laid into its original postion with fins lined up etc. Note the white clay where the tail meets the body. The clay takes longer to set and one can use it to create a smooth tail to body transition.
Using Tom Sexton Fish Filler the body is partially filled and a piece of precut plywood is put into position at approximately the center of the body to be covered with more filler. It's important the filler has the consistency of wet play dough.
Fish is overfilled with the fish filler (make sure you push into the head cavity and other areas), and the excess is pushed out the back seam. This is very important to prevent air bubbles or depressions.
Fish almost completely filled with a plastic spatula in view. This tool can be used over and over again for mixing the filler with water by simply flexing off the filler once it sets. Same goes for a gallon plastic ice cream bucket that I use to mix the filler. Note sure you fill your cheek cavities through the eye socket on both sides. Once I think I've the fish filled to my satisfaction I flip it over and fill the other cheek cavity. (Be careful!) Then I pop it back in the mold. Be sure you didn't drop and filler crumbs into your mold before putting it back. I also rinse and wipe off my hand periodically in the skin to keep them relatively clean to keep the filler off the fish.
(Photo not shown Will add ASAP)
Once the filler starts to firm up I remove the fish from the filler, turn the fish over, and prop it into the postion I want with paper towels underneath the body. This gives a curve to the body if you wish. You can even do reverse curves with this method very easily. I wet the fins with spray bottle of water periodically, and wait for the filler to become hard which is within 20 minutes or so. Also if you want an open mouth fish it's important you pack paper toweling into the mouth of the fish before the filler sets up.
The filler has set up and after predrilling a hole into the back of the fish and plywood block, a piece of furrowing stripping is screwed into the back of the fish with a drywall screw for hanging.
The fish all carded and hanging up to dry.


 ? Looking for a wayto fix broken fins on already mounted fish...And how to blend the color to match the fish already painted??? need some help please!!!!!